

Secure your Lightsail WordPress instance with free Let’s Encrypt SSL certificates
Amazon Lightsail’s Bitnami WordPress stack makes it easy to set up a WordPress website, but securing it with an SSL certificate is crucial for security and SEO benefits. In this guide, we’ll show you how to secure your Bitnami WordPress instance with a free Let’s Encrypt SSL certificate.
Step 1: Connect to Your Bitnami Instance
First, you need to connect to your Bitnami WordPress instance using SSH.
1.Navigate to the Amazon Lightsail console.
2.Choose the WordPress instance you want to secure.
3.Click Connect using SSH.
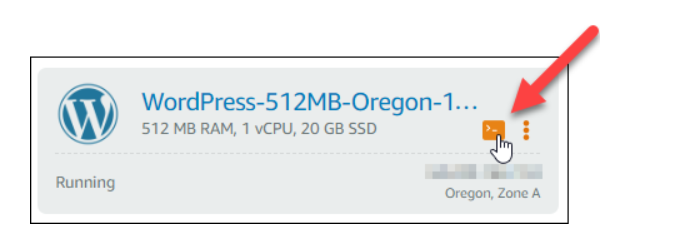
This will open an SSH terminal within your browser, where you can run the necessary commands.
Step 2: Use the Bitnami HTTPS Configuration Tool
Bitnami provides an automated tool that simplifies obtaining and installing a Let’s Encrypt SSL certificate.
Run the following command to launch the Bitnami HTTPS Configuration Tool:

The tool will prompt you for your domain name, whether you want to redirect HTTP traffic to HTTPS, and if you want to automatically renew the SSL certificates.
Step 3: Follow the Interactive Prompts
The Bitnami HTTPS Configuration Tool will guide you through the following steps:
- 1. Enter your domain: Enter your domain name (e.g., yourdomain.com and www.yourdomain.com).
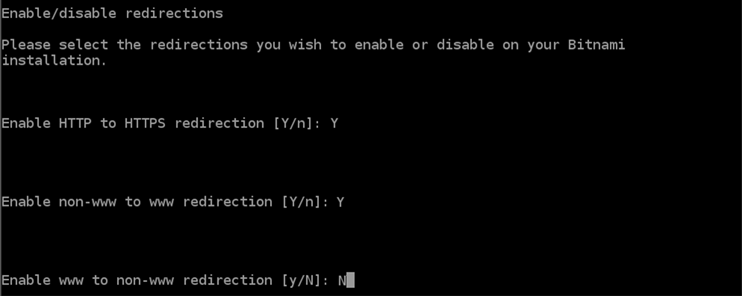
- 2. The bncert tool will ask you how you want your website’s redirection to be configured. These are the options available:
–Enable HTTP to HTTPS redirection – Specifies whether users who browse to the HTTP version of your website (i.e., http:/example.com) are automatically redirected to the HTTPS version (i.e., https://example.com). We recommend enabling this option because it forces all visitors to use the encrypted connection. Type Y and press Enter to enable it.
–Enable non-www to www redirection – Specifies whether users who browse to the apex of your domain (i.e., https://example.com) are automatically redirected to your domain’s www subdomain (i.e., https://www.example.com). We recommend enabling this option. However, you may want to disable it and enable the alternate option (enable www to non-www redirection) if you have specified the apex of your domain as your preferred website address in search engine tools like Google’s webmaster tools, or if your apex points directly to your IP and your www subdomain references your apex via a CNAME record. Type Y and press Enter to enable it.
–Enable www to non-www redirection – Specifies whether users who browse to your domain’s www subdomain (i.e., https://www.example.com) are automatically redirected to the apex of your domain (i.e., https://example.com). We recommend disabling this, if you enabled non-www redirection to www. Type N and press Enter to disable it.
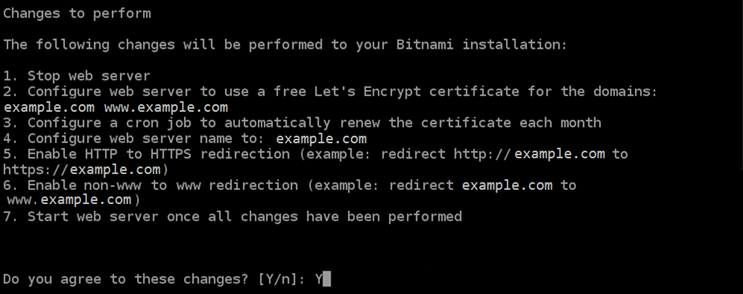
- 3. The changes that are going to be made are listed. Type Y and press Enter to confirm and continue.
- 4. Enter your email address to associate with your Let’s Encrypt certificate and press Enter.
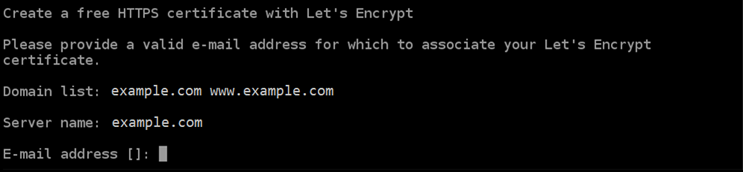
- 5. Review the Let’s Encrypt Subscriber Agreement. Type Y and press Enter to accept the agreement and continue.

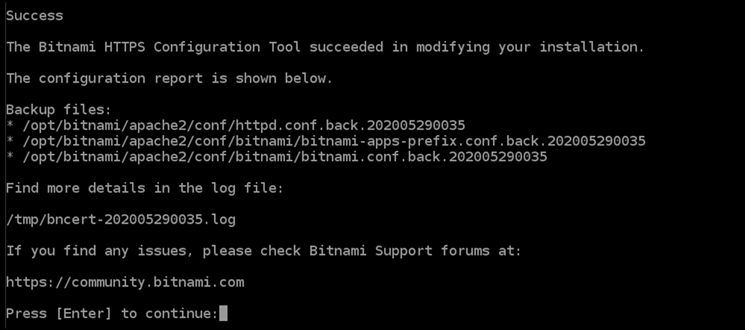
Your certificate is successfully issued and validated, and the redirections are successfully configured on your instance if you see a message similar to the following example.
Step 4: Verify the SSL Installation
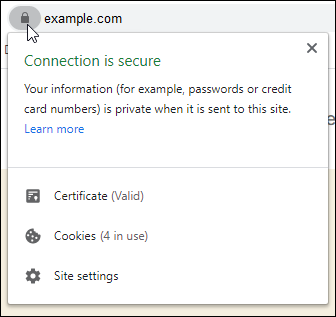
After the process completes, you can verify that the SSL certificate has been successfully installed by visiting your website. You should see a padlock icon next to your domain in the browser’s address bar.
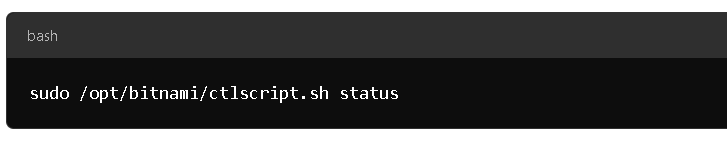
Additionally, you can run the following command to check the Bitnami services and ensure everything is running smoothly:
Step 5: Test that your website is using HTTPS
After you enable HTTPS on your WordPress instance, you should confirm that your website is using HTTPS by browsing to all of the domains that you specified when using the bncert tool. When you visit each domain, you should see that they use a secure connection as shown in the following example.
Step 6: Manually Renew the SSL Certificate (Optional)
Let’s Encrypt certificates expire every 90 days, but the Bitnami HTTPS Configuration Tool automatically sets up a renewal process. However, if you ever want to renew the certificate manually, use the following command:
sudo /opt/bitnami/letsencrypt/lego –tls –email=”youremail@example.com” –domains=”yourdomain.com” –domains=”www.yourdomain.com” –path=”/opt/bitnami/letsencrypt” renew
Conclusion
By using Bitnami’s HTTPS Configuration Tool, securing your WordPress site with a free Let’s Encrypt SSL certificate is quick and simple. With the automatic renewal in place, you can rest assured that your website remains secure with minimal effort.
Leave a Reply